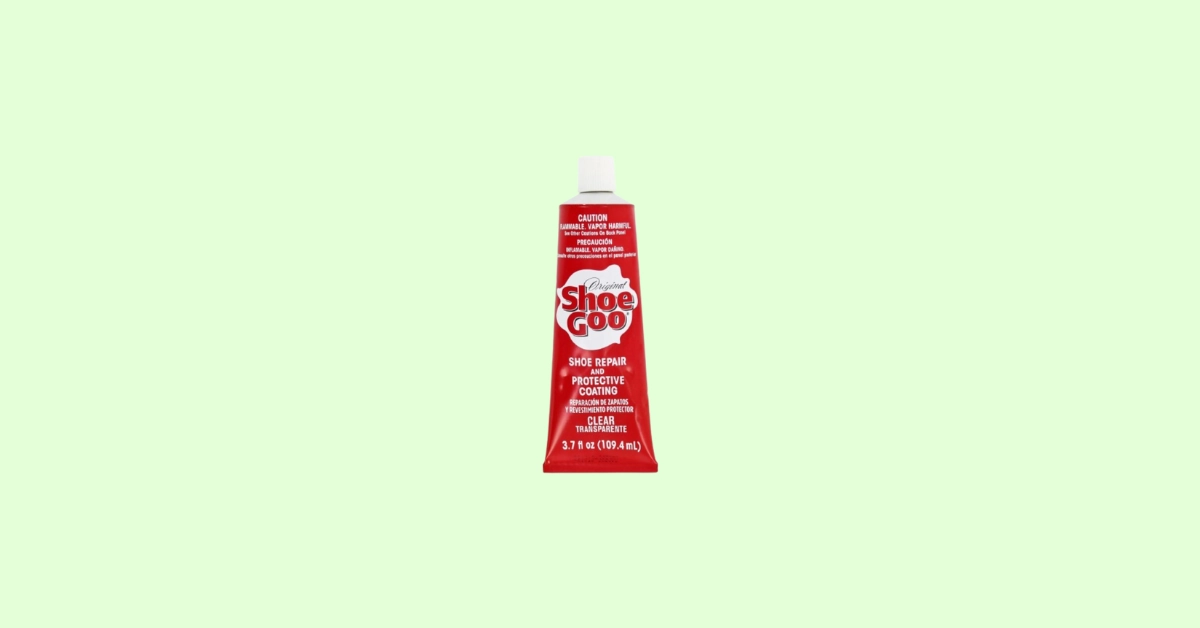
Shoe Goo is a protective shoe repair adhesive that is helpful on substrates such as leather, canvas, vinyl, and rubber.
The best part of this adhesive is that it creates a protective layer against water penetration, making it waterproof and suitable for rubber boots, waders, and galoshes.
It’s also used to create extra traction on gears like skateboards. Using the product is super easy.
However, following the proper method helps you provide a professional finish to your valuable shoe.
How To Use Shoe Goo?
Using Shoe Goo is super easy. But if you do it step by step, you can have a professional finish.
Step 1: Prepare The Surface
The first step is to prepare to ensure the best bonding results and increase the shoe’s durability.
So, first, clean the surface properly and let it dry before applying the glue. Then, take sandpaper and roughen the area where the glue will be used.
As a result, it will stick to the surface even better.
Step 2: Tube Opening
The next step is to open the tube properly to avoid product waste. The cap has a pointy part. You need to use it to puncture the seal of the tube.
Step 3: Application
When applying the Shoe Goo, make sure you apply it carefully. Squeeze the tube and hold it at the right angle.
Also, avoid using a lot of products on the surface. A little goes a long way.
Ensure you use the glue in a well-ventilated area from an optimal temperature between 70°F and 85°F.
Besides, a thin layer of glue should be applied to each surface. Put even pressure on both surfaces to strengthen the bond.
In addition, you can use a needle to push the glue in the critical corners.
Step 4: Drying
Now, let the shoe dry for at least 24 hours. Use clamps or rubber bands, or hold both parts for a few minutes to stick perfectly.
If it’s about boots, put newspapers or something heavy inside them to ensure the glue is pressed down properly.
Depending on the material quality and temperature, the drying time can take 48-72 hours to 2-3 days.
Step 5: Cleaning Residue
Once you’ve applied the shoe goo, clean the residue. Shoe Goo can be messy sometimes, and if you don’t clean the residue in time, it will stick to the surface.
In this case, you can use a toothpick, needle, an old credit card, or a small putty knife to scrape off the excess glue before it dries out.
You can easily avoid it using masking tape around the area before applying the glue. It prevents any mess, easily cleans the excess adhesive, and looks like a professional finish.
Moreover, you must clean the tools immediately after finishing the application. It prevents the glue from sticking to them.
Step 6: Storing
Once you’ve applied the glue, you must focus on storing it for longevity. Storing the glue is important for extending its life and keeping it efficient for future applications.
The easiest way to preserve the glue is to freeze it. Keep the tube in a sealed plastic bag, which must be secured after every use.
This method can keep the glue’s original consistency intact. But make sure to keep it out of the freezer for a while before reusing it and close the packet after use.
Precautions to Take Before Using Shoe Goo
You must take precautions when using any product. It is also recommended to consider this when using Shoe Goo because safety is necessary.
The elements of the glue can be harmful if not used properly. So, to ensure safety, the first thing to do is wear safety gear, such as protective gloves, masks, goggles, and appropriate clothing.
It can irritate the skin and eyes, so avoid direct contact with them. Read all the caution and safety instructions on the packaging and follow them properly.
Additionally, work in a well-ventilated area or use an exhaust fan to remove vapor, as it’s dangerous. Keep Shoe Goo away from pets and children.
You must also follow the directions in the application method. Before using the glue, the surface should be clean, dry, and dirt-free.
That’s how you can have a professional-like finish on every use.
Wrap Up
Shoe goo is an effective product that makes your shoe last longer. It also makes the shoe free from water penetration.
If you consider the method and follow the steps, you can have a professional finish. That’s how you can use the shoes for a longer time.


