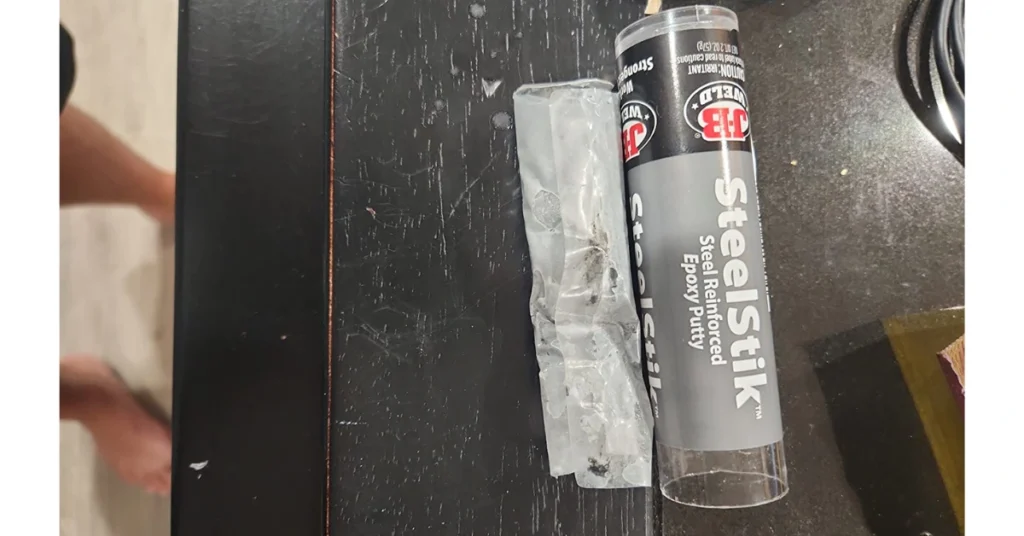
Every household needs a JB Weld Steel Stick in their tool kit. It fills, seals, and repairs steel and other metal surfaces in 5 minutes.
The fast drying and robust finish make it a favorite kit. However, as the putty dries out quickly, you only have a short time to prepare it.
That’s why understanding the JB Weld Steel Stick’s step-by-step process is very important. Similarly, using JB Weld Plastic Bonder is essential when working with plastics, offering a strong, lasting bond for plastic surfaces.
In this article, you will learn how to use JB Weld Steel Stick and how to cure them perfectly. Let’s keep reading!
How To Use JB Weld Steel Stick?
JB Weld Steel Stick is used in automotive, brick, ceramic concrete, metal, underwater/wet, and other applications. Its advantage is that it’s resistant to water, fuel, and chemicals.
Despite its advantages, you must maintain the proper temperature to cure the putty. Moreover, the surface you’re using should be clean.
The product has a shelf life of three years when stored in a cool, dark place. In other words, if your putty stick is getting bad, something is wrong.
You have seen the JB Weld Steel Stick review almost everywhere, but not the proper way to use it. So, follow these steps to use the putty properly:

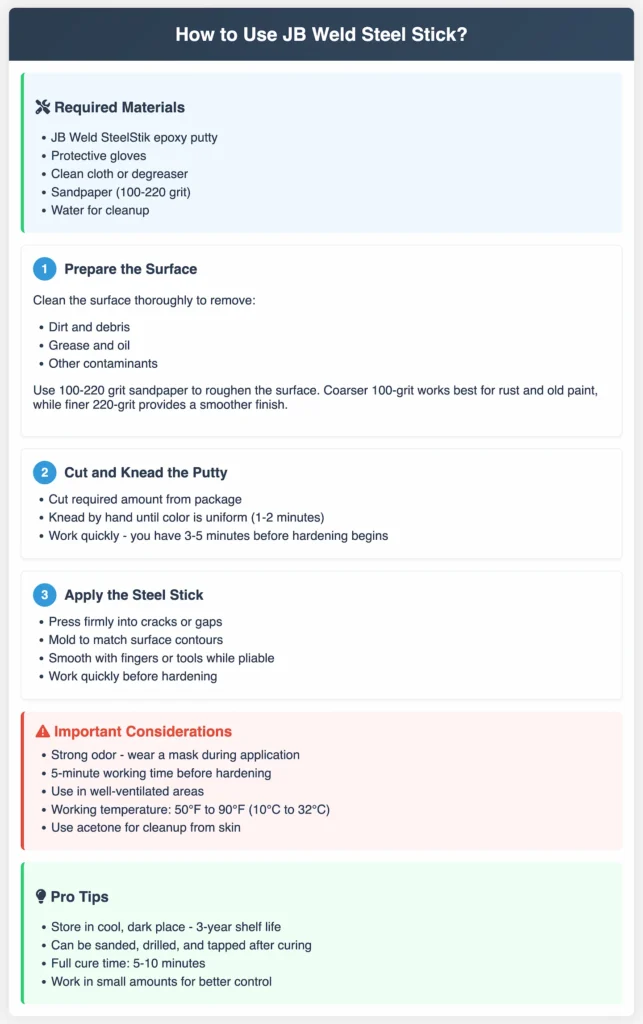
Gather Your Materials
- JB Weld SteelStik epoxy putty
- Protective gloves
- Clean cloth or degreaser (optional)
- Sandpaper (optional for roughening surfaces)
- Water for cleanup
Prepare the Surface
Always prepare the surface/product you want to fill with the putty. Dirt, grease, oil, or other contamination will weaken the putty.
To avoid that, clean the surface with light sandpaper or any abrasive cloth. 100 to 220-grit sandpaper is ideal for roughening the surface before applying the putty.
100-grit is coarser and works well for heavily smooth surfaces or removing rust and old paint. 220-grit is finer and provides a smoother finish, suitable for lightly roughening the surface to help the epoxy bond better.
But first, wear protective gloves to prevent skin irritation or other issues.

Cut and Knead the Putty
Now comes the crucial part. Use a knife or your hand to cut a portion of the putty from the package. Only take the amount needed to fill the gaps or cracks.
Mix the putty by hand. Knead it between your fingers until it turns into a uniform color, with no streaks of dark and light areas (usually takes about 1 to 2 minutes). Once the colors are blended, it’s ready to apply.
The kneading process initiates the curing, so it works quickly after kneading. You’ll have about 3 to 5 minutes before it begins to harden.
Apply the Steel Stick
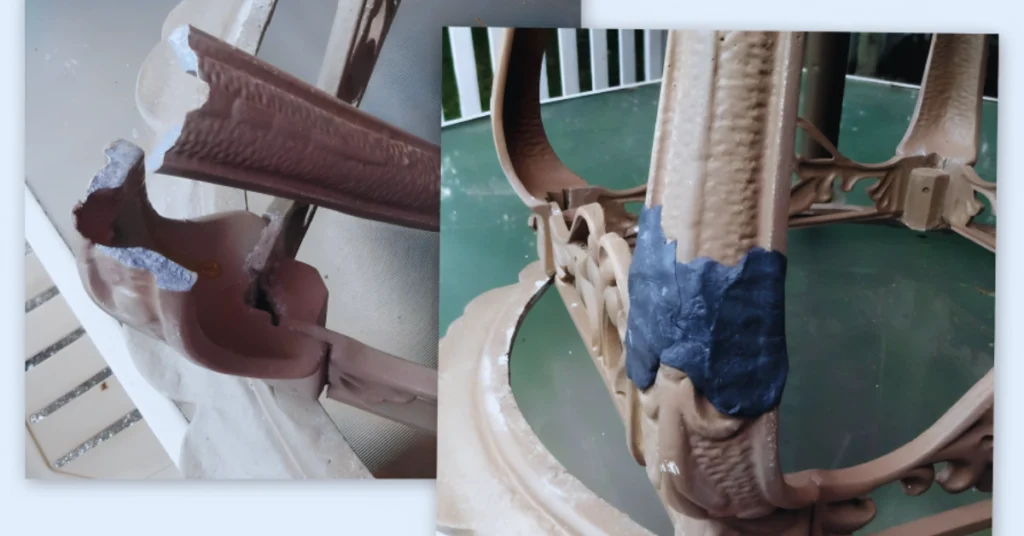
Firmly press the kneaded SteelStik onto the area to be repaired. Ensure it fills in any cracks or gaps. Mold and shape it as necessary to fit the contours of the surface.
When you combine the outer and inner layers of the epoxy, the solution becomes moldable and shapable, allowing you to repair holes and seal cracks.
While the putty is still pliable, you can smooth the surface with your fingers, a tool, or even water. Ensure the edges are well-blended with the surrounding surface for a secure hold.
Don’t overwork the putty, as it hardens relatively quickly. If you wait too long, it will become difficult to shape.

Curing Time
JB Weld Steel Stick cure time is 5-10 minutes, allowing some time to adjust. It works best in temperatures between 50°F and 90°F (10°C to 32°C).
Extreme temperatures can delay or impact the curing of JB Weld products. Therefore, avoid working in very cold or hot conditions.
Some J-B Weld products can only be removed by grinding, filing, or heating above 600º when fully cured.
Things to Consider While Using JB Weld Steel Stick
- Strong Odor: Prepare yourself for a strong odor when mixing the putty. The smell can be noticeable. I recommend wearing a mask while using the JB Weld Steel Stick.
- Time Limitation: You have around 5 minutes before it starts hardening, so work in small amounts. The putty will start to warm up as it begins to cure.
- Removing the product from the skin: Acetone and acetone-based products will remove most J-B Weld from hands and surfaces. In some cases, a light or moderate abrasive might be necessary.
- Ventilation: Use SteelStik in a well-ventilated area. Curing releases fumes, and exposure to these chemicals in a confined space could be harmful.
Editors Opinion
JB Weld Steel Stick’s resistance to water and chemicals makes it a reliable option for various repair tasks.
One of the advantages is that it can be sanded, drilled, and tapped after curing, which takes about an hour. Additionally, it’s easy to mold and shape to fit specific needs.
However, its adhesion on some surfaces could be improved. Despite this, it remains a highly effective product.
The packaging could also be more user-friendly, but overall, the product performs well and is worth considering.


