JB Weld Steel Reinforced Epoxy is a versatile product from the JB Weld brand. It can be used as an adhesive, laminate, plug, filler, sealant, and electrical insulator.
But it doesn’t stop there—it also works well on glass, porcelain, wood, and most plastics, making it perfect for various repairs. If you’re working on metal surfaces, JB Weld SteelStik might be a better option for certain jobs. Similarly, if you’re dealing with plastic materials, JB Weld Plastic Bonder could provide stronger results.
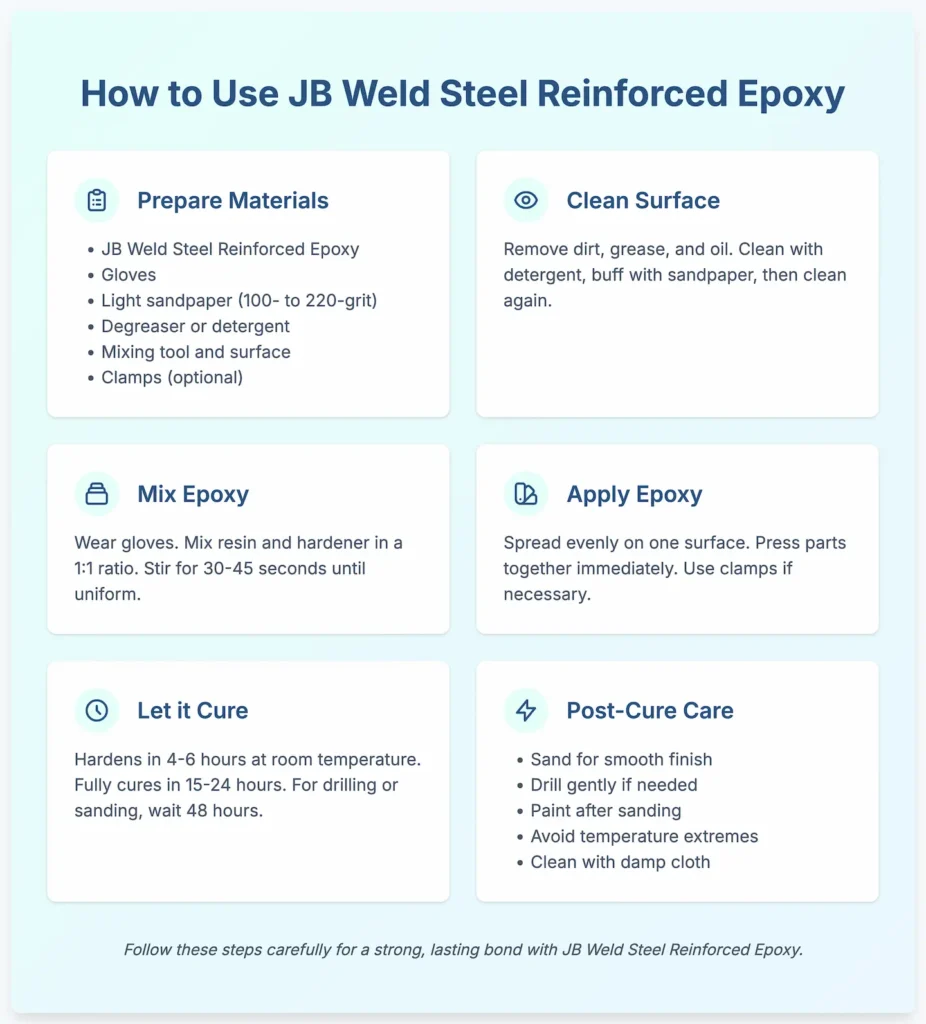
However, it’s essential to follow the proper steps when using it. If you skip any part of the process, the bond may not be as strong. Here’s a simple guide on properly using JB Weld Steel Reinforced Epoxy for the best results.
How to Use JB Weld Steel Reinforced Epoxy?
Always be prepared before applying the epoxy to the product. Gather all your materials, keep the room ventilated enough, and keep water and soap in case of emergency. Another point is to use disposable tools to mix and carry the epoxy.
Materials Needed
- JB Weld Steel Reinforced Epoxy (resin and hardener)
- Gloves
- Light sandpaper (100- to 220-grit)
- Degreaser or detergent (non-petroleum-based)
- Mixing tool (disposable stick or tool)
- Mixing surface (non-porous tray or disposable plate)
- Clamps (optional for securing parts during curing)
Clean the Surface
Always clean your product or the surface before applying JB Weld Products. Water, petroleum, and chemicals are not a problem for JB Weld Steel Reinforced Epoxy. But you should remove dirt, grease, and oil, which will weaken the bond.
The first step is to clean the area with a cloth and some cleaner. It could be detergent or any grease cleaner. Ensure the cleaner you are using does not leave any residue.
Then, take sandpaper (100 grit is recommended) and buff the area. Buffing the surface will ensure the bond is holding the material properly. Once it’s buffed, clean the surface again to remove the metal particles.
Read More: J-B Weld Original Cold Weld vs. MarineWeld
Mix the Steel Reinforced Epoxy
First, wear gloves to protect your skin from the epoxy. Do not let the epoxy touch your skin; it will irritate and itch.
To create the epoxy, you have to mix the resin and the hardener. Take a disposable mixing surface and squeeze equal amounts of both components. It’s crucial to maintain a 1:1 ratio for a proper bond.
Using a mixing stick, thoroughly combine the resin and hardener. Stir for about 30–45 seconds until the mixture has a uniform color and consistency. The mixture will start to set quickly, so be prepared to apply it as soon as it’s ready.

Apply the Epoxy on the Surface
Once mixed, apply the epoxy to one of the surfaces you want to bond. Use a disposable tool or stick to spread the epoxy evenly over the surface. Apply enough epoxy to ensure a solid bond, but avoid overapplying, as excess epoxy may ooze out.
Press the parts together immediately after applying the epoxy. Use clamps to hold the pieces in place for a tighter bond if necessary. Ensure the parts are correctly aligned before the epoxy starts to cure.
Let it Cure
JB Weld Steel Reinforced Epoxy will harden within 4–6 hours at room temperature (about 70°F or 21°C). During this time, avoid moving the bonded parts to allow for proper setting.
In warmer environments (above 90°F or 32°C), the curing process may be quicker, while colder temperatures (below 50°F or 10 °C) can extend the cure time. Avoid working in extreme temperatures for optimal results.
The product takes 24 hours to cure fully. However, if you want to drill or sand the epoxy, wait at least 48 hours. Once fully cured, J-B Weld can withstand temperatures up to 287°C (550°F).
Post-Cure Care for JB Weld Steel Reinforced Epoxy
1. Sanding: let the bond fully cure (for 15-24 hours). Afterward, you can sand the epoxy to smooth any rough edges or excess material. Use fine-grit sandpaper (100 grit) for a clean finish.
2. Drilling: The hardened epoxy can be drilled or tapped. Be gentle while drilling to avoid damaging the bond or surrounding material.
3. Painting: You can paint the surface after sanding. Make sure to use a primer for a better finish and durability of the paint.
4. Temperature Exposure: Although the bond is resistant to heat and cold, it is best to avoid extreme temperature fluctuations for the first 48 hours after curing.
5. Cleaning: Use a damp cloth to remove dust or debris from sanding or drilling. Avoid harsh chemicals that could weaken the bond over time.
Editor’s Opinion
I’ve used JB Weld Steel Reinforced Epoxy for several projects, and overall, it’s a pretty reliable product. The best thing about it is its strength. Once it cures, it forms a solid, nearly unbreakable bond on metal, which gives me peace of mind that whatever I’m fixing will hold.
The downside is the waiting time. I had to wait 24 hours, which felt inconvenient if you were in a hurry. Despite that, you can’t deny the intense, long-lasting bond it holds and how user-friendly it is.
Have you used JB Weld Reinforced Epoxy? Share your experience with us in the comment section.


