People have always trusted the JB Weld brand for DIY epoxy and adhesives. Their Plastic Bonder is a two-part adhesive formulated for bonding various materials.
It’s versatile, easy to use, and sets quickly compared to other epoxy. However, many people make common mistakes when using the JB Weld Plastic Bonder. They might spread the epoxy unevenly, causing improper curing.
Whether you’re bonding plastics with JB Weld Plastic Bonder or repairing metal surfaces with JB Weld Steel Stick, following the correct application process is crucial to avoid these issues. Using JB Weld Plastic Bonder correctly can prevent these mistakes. Let’s dive in for more details.
Article Highlights
- The JB Weld Plastic Bonder can bond metals, plastics, wood, and fiberglass.
- You need only a four-step process for a longer-lasting bond.
- Thick layers and overclamping can damage your product.
- Cures faster in warm conditions; use heat to speed up.
How to Use JB Weld Plastic Bonder?
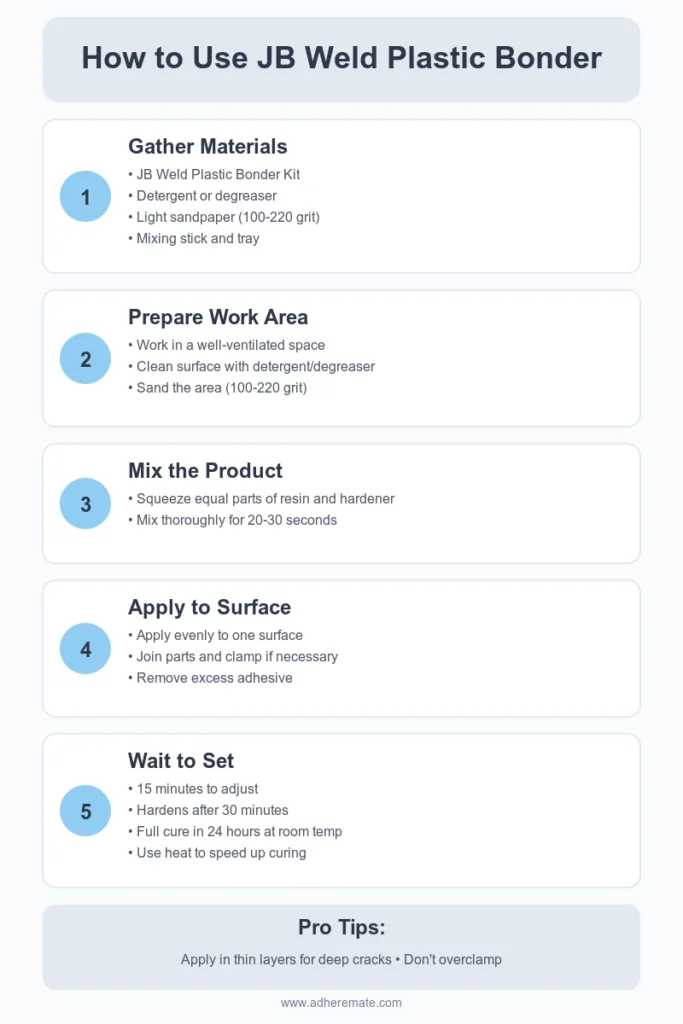
Four easy steps can create a long-lasting bond with JB Weld Plastic Bonder. However, be aware of the product material before starting the process.
Most JB Weld products do not bond well to flexible surfaces such as rubber or materials like canvas, polypropylene, or polyethylene plastics.
JB Weld Plastic Bonder can be used on metal, plastic, wood, fiberglass, brick, ceramic, concrete, and more.
Gather the Materials
- JB Weld Plastic Bonder Kit
- Detergent or degreaser (cleaner with no petroleum)
- Light sandpaper (100- to 220-grit recommended)
- Mixing stick or disposable tool
- Mixing tray or non-porous surface
- Clamps or other holding tools (optional for securing the bonded parts)
Prepare the Work Area
Work in a well-ventilated space to prevent inhaling fumes from the adhesive or cleaners.
Clean the product with light sandpaper or an abrasive cloth. Avoid using alcohol or cleaners that leave a petroleum residue.
Instead of alcohol, you can clean the surface with detergent or a degreaser to remove dirt or oil. Afterward, sand the area using 100 to 220-grit sandpaper.
Mix the Product
Remove the replaceable cap from the product. Then, squeeze out equal parts of the resin and hardener onto a disposable surface or mixing tray.
JB Weld Plastic Bonder typically comes in a dual-syringe dispenser to ensure an accurate mix.
Use a disposable tool or mixing stick to thoroughly combine the resin and hardener for about 20 to 30 seconds. Make sure the mixture is uniform in color and texture.
Apply to the Surface
Once mixed, apply the epoxy to one of the surfaces you want to bond. Use a stick or spreader to distribute the adhesive evenly.
Join the parts evenly and use clamps if necessary. Keep consistent pressure on distributing the adhesive.
Don’t forget to remove the excess adhesive squeezing from the parts.
Wait to Set
JB Weld Plastic Bonde gives you 15 minutes to adjust and align the pieces. Or else it will set before the application.
It begins to harden after 30 minutes, so it’s best to wait at least an hour before sanding the surface. The temperature also affects how quickly the adhesive cures.
Let the bonder sit for 24 hours at room temperature (70°F or 21°C) for a complete cure. It will take 12–18 hours for temperatures above 90°F or 32°C.
Curing will take longer in colder conditions (below 50°F or 10 °C). However, you can speed it up by using a hairdryer on high heat, cutting the time by up to 50%.
Once fully cured, leave it as is or smooth it out with 220-grit sandpaper.
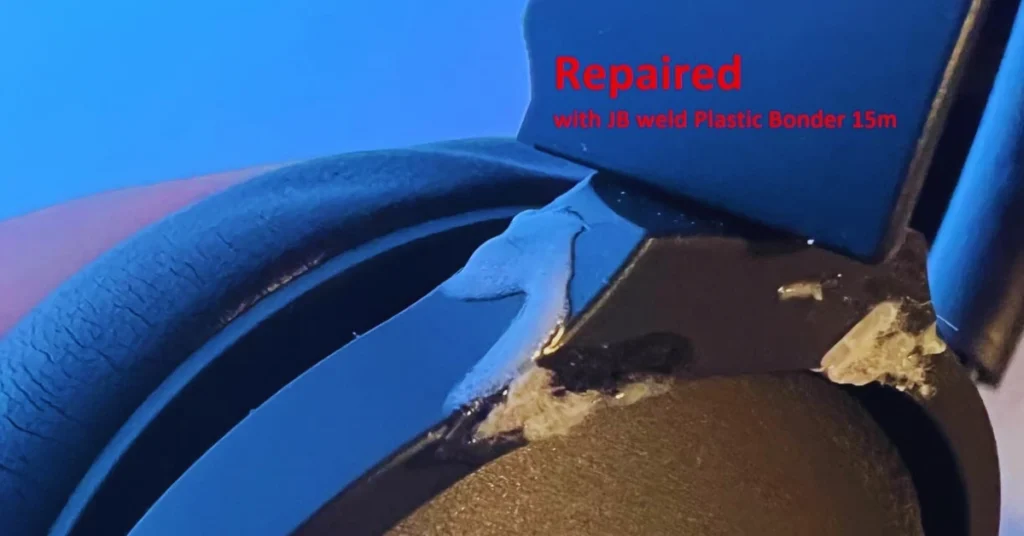
Mistakes When Using JB Weld Plastic Bonder
If your product has deep cracks or larger gaps, apply epoxy in thin layers rather than a single thick application. Allow each layer to be partially set before adding the next for a stronger, longer-lasting bond.
Do not overclamp the product; otherwise, too much adhesive will squeeze out, weakening the bond.
Do not sand the product aggressively, as this may damage the material. Always use a soft cloth after sanding to clean up the powder and apply the bonder.
Editor’s Opinion
JB Weld Plastic Bonder requires four simple steps and a 15-minute setup time.
Thanks to its convenient syringe, the product is user-friendly, making mixing and applying easy for anyone without professional help.
If you’ve faced any challenges or have tips from your experience with JB Weld Plastic Bonder, we’d love to hear about them. Share your thoughts in the comments below!

