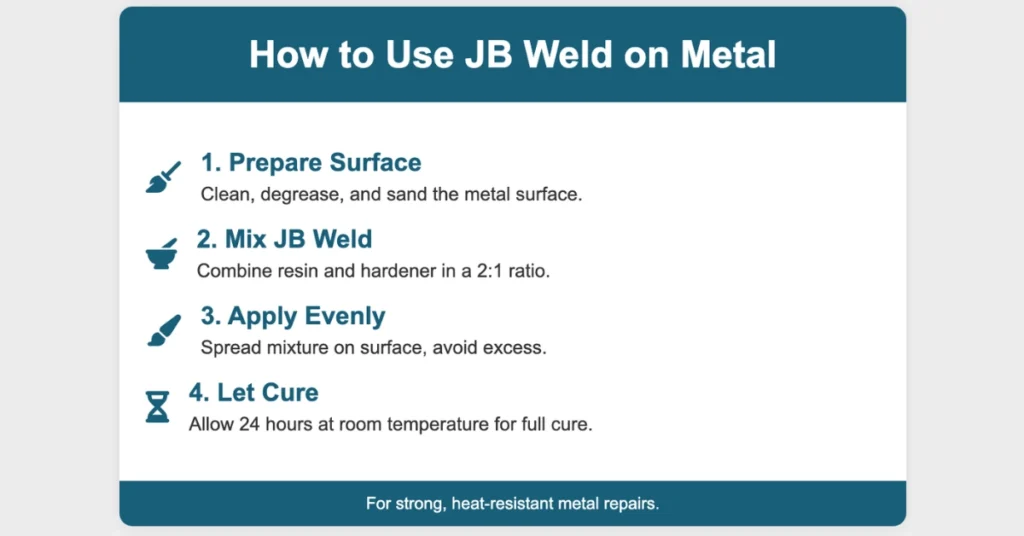
To use JB Weld on metal, Clean and sand the surface, mix the epoxy, apply evenly, and let it cure for 24 hours. Ideal for strong, heat-resistant repairs.
Using JB Weld on metal isn’t quite the same as using it on other surfaces. The difference occurs due to dissimilarity in surface texture, bonding properties, and material flexibility.
Metals have a unique texture and need a different type of surface prep to get the best bond. Moreover, You might also notice that the epoxy cures faster on metal because metal holds and transfers heat better.
Read the article to learn how to use JB Weld on metal.
Which JB Weld for Metal?
J-B Weld Original Cold-Weld – For general metal bonding.
J-B Weld KwikWeld – Faster-setting version for metal repairs.
J-B Weld SteelStik – Perfect for steel repairs and applications, but how do you use it?
Step-by-step Process of How to Use JB Weld on Metal
Before everything else, gather the necessary materials and protective wear. Try to be in a well-ventilated space to avoid breathing in the adhesive fumes.
Gather All Material
- Medium Sandpaper (100-150 grit)
- Clean Cloth
- Driller (optional)
- JB Weld Epoxy
- Non-porous or disposable tray
- Disposable mixing tool
- Clamps (optional)
- Protective gloves and eyewear
- Protective Mask (if needed)

Step One: Prepare the Surface
The first common question is, “How do you prepare J-B Weld for metal?” As I have already said, metal preparation is different from that for other materials.
Metal surfaces are smooth and less porous than wood or plastic. That’s why it’s hard for adhesives to form a strong bond.
To start, clean the metal surface of grease, oil, or grime using a degreaser or detergent without a petroleum base. If you’re repairing a deep crack or hole in metal, drilling a small hole at the ends of the crack can help prevent it from spreading.
Drilling can also create anchor points or holes that better penetrate the epoxy in areas with complex geometry.
Then, use sandpaper to roughen the metal area where you’ll apply the epoxy. Remember to wear a mask and eyewear while drilling and sanding the metal. The mask will prevent you from inhaling small metal particles.
Once the metal is roughened and clean, wipe it down with a clean cloth to remove dust and debris.
Step Two: Mix JB Weld Properly
Some materials may not require precise ratios. However, achieving the correct 2:1 ratio of base resin to hardener is critical for bonding metal.
Make sure you wear protective gloves to prevent skin irritation from chemicals. Then, put the JB Weld in a 2:1 ratio on the disposable mixing tray. Now, mix them properly with a disposable mixing tool.
Mix till you see a uniform color and consistency.
Step Three: Apply the Product on the Surface
The smoothness of metal means that the epoxy can slip off if not applied correctly. Make sure the epoxy is applied evenly and firmly.
Spread the mixed epoxy evenly over the metal surface. Use enough to cover the area, but avoid over-application, as excess epoxy can weaken the bond.
If you are bonding two parts, hold them with a clamp and keep them until the glue is set.
Step Four: Let it Cure
Metal surfaces can conduct heat better and shorten the cure time once you apply heat. However, it takes around 24 hours to cure the JB Weld properly.
For materials like plastic, excess heat can cause warping or damage, and the curing process might be slower.
For a full cure, allow the epoxy to sit at room temperature for 15–24 hours (about 70°F or 21°C). Metals may take longer to cure fully, so keep patience.
Once the JB Weld has fully cured, you can use a driller to make holes, shape the repair, or refine the surface. The cured JB Weld is strong enough to be drilled without breaking apart.
Read More: How To Use JB Weld Steel Reinforced Epoxy?
Drawbacks of Using JB Weld on Metal
Despite gaining praise from users, some people have pointed out the disadvantages of JB Weld.
I have gathered some opinions from users in various forums to highlight the drawbacks of using JB Weld.
It appears that JB Weld is much thicker than many other epoxies, especially the laminating epoxies. It’s difficult to apply a small amount of JB to a part.
To make it more liquid, you can use a lacquer thinner or acetone. However, another user said it gets warm, almost hot, before mixing. In about 20 minutes, it goes from ‘cold tar’ to ‘toothpaste.’ Therefore, it becomes difficult to apply the product.
Editor’s Opinion
JB Weld is a solid choice for metal repairs, especially when you need something heat-resistant and durable. It’s incredibly versatile and can withstand high temperatures.
One advantage is that it forms a strong bond even under pressure. However, I think it can be challenging for beginners to work with a thick consistency. So, be patient while applying the mixture to the surface.
Overall, using JB Weld on metal was pretty easy.


